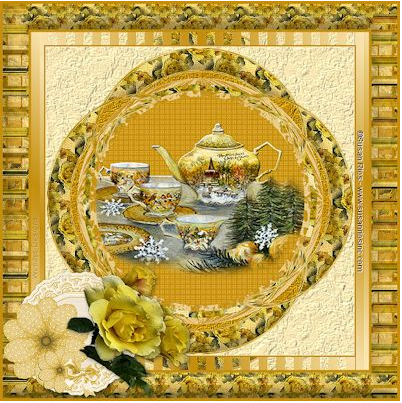
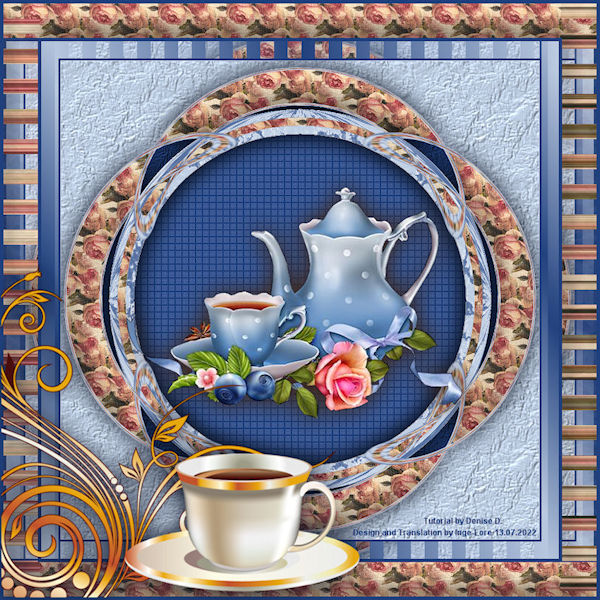
TUTORIAL TEMPLATE
This tutorial is written by Denise D. on 2nd July, 2014
 from my own ideas.
Any resemblance to other tutorials is co-incidental and unintentional.
You may share my tutorials with other groups.
 All I ask is that you advise me
and credit for the tutorial is given to me and linked to

http://escapingtopsp2.altervista.org/Home/homeb.html


Please do not upload any of my completed Tutorial images onto sites
such as Fotki, Pinterest, Photobucket or similar


TEAPOTS AND TEACUPS
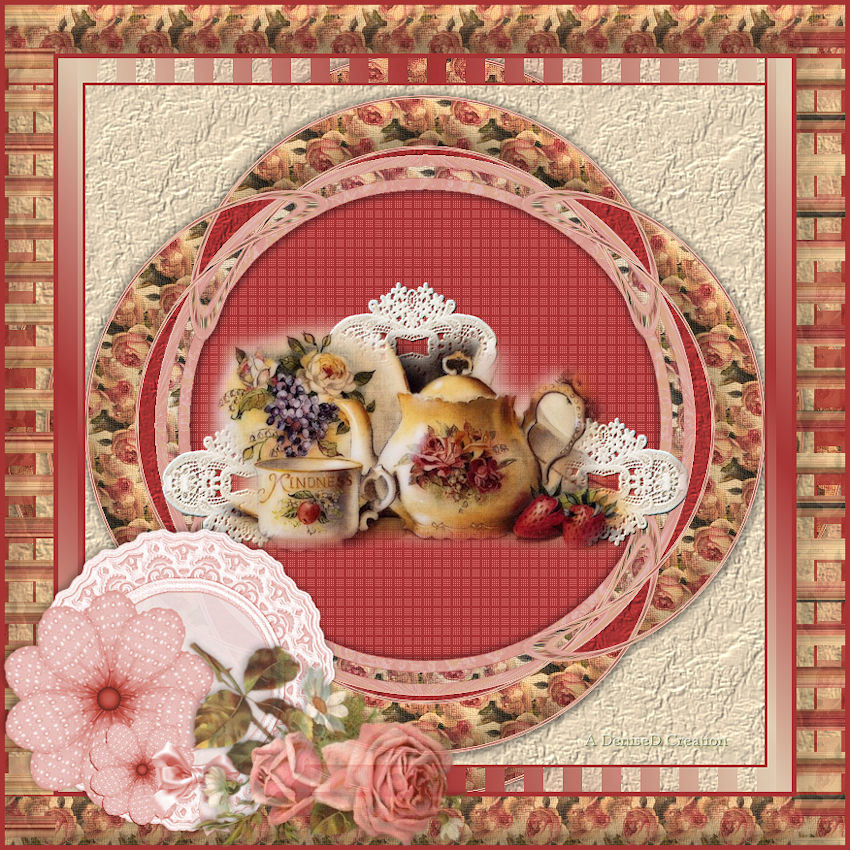
TEAPOTS AND TEACUPS

http://escapingtopsp2.altervista.org/TeapotsAndTeacups/TeapotsAndTeacupsl.html


flag

Thank you Inge-Lore for this German translation

Click on the Box to download Supplies

BOX


To print click on Printer


Supplies
  Images:

                         
JR-WBITS-ELEGANTTEA.psp
JR-WBITS-TEMPLATE101.psp
You can join this group at:
http://ca.groups.yahoo.com/group/BloomsburyHouse/?yguid=404937152

tubflrosa_001.tub
Obtained through Group Shares.
If this image was created by you, please let me know
so that appropriate credit can be given.
        
Texture: 
Zags  
                    
Pattern:
D.D.roses3

Selection:
D.D.TeapotsAndTeacups

Colour Swatch
        
Plugins:
MuRa's Seamless
MuRa's Meister
DSB flux
Penta
                Eye Candy 3.0               
Found here:

PLUGINS AND  PLUGINS


Notes:
This Tutorial was originally created in PSPX5 and reworked
in Corel Paint Shop Pro 2019.... other versions may need adjustment

Some of the graphics may be from Free to Use sites or Share Groups. 
If you are the creator of one of these please let me know so that appropriate credit can be given. 
No infringement of copyright is intended or intentional.
Before opening PSP, download plugins and install

Some helpful information:

You can change the blend mode, opacity and drop shadow, as well as colourise the materials,
according to the tubes/colours you are using.

When applying the Resize with the All Layers option checked, this will be informed in the tutorial,
otherwise, apply the resize with this option unchecked.

Remember always to save your work.

Whenever you reduce an image, apply Adjust/Sharpness/Sharpen, to maintain the sharpness of the image.

Some tools or features have other names in earlier versions of the PSP.

http://escapingtopsp2.altervista.org/Home/homeb.html

tools


Please Note:   Offset settings provided in this tutorial may vary according to size of your image.
Please adjust to suit.


The settings remain the same throughout this Tutorial unless otherwise stated.
Set your Foreground colour to
#e3d2b7
Set your Background colour to #a73335

Step One:

Place Selection in PSP Selection Folder

Place Texture in PSP Texture Folder

Place Pattern in PSP Pattern Folder


File/New/Transparent 700 pixels x 700 pixels as follows:

NL

Flood Fill with Background Colour
Effects/Plugins/MuRa's Meister/Clouds as follows:

MARBLE

Step Two:
Effects/Geometric Effects/Circle as follows:

CIRCLE

Image/Resize/80% as follows:

80

Adjust/Sharpness/Sharpen
Selections/Select All
Selections/Float
Selections/Defloat
Selections/Modify/Contract 12 pixels
Edit/Clear

Step Three:
Change Foreground Colour to Pattern D.D.roses3 as follows:

PATTERN

Layers/New Raster Layer
Flood Fill with Pattern

Selections/Modify/Contract 12 pixels
Edit/Clear
Layers/New Raster Layer
Flood Fill with Background Colour
Effects/Plugins/MuRa's Meister/Clouds
Selections/Modify/Contract 12 pixels
Edit/Clear
Selections/Select None

Step Four:
Layers/Merge/Merge Visible
Image/Duplicate

Image/Resize 40%
Effects/Distortion Effects/Polar Co-ordinates as follows:

POLAR

Repeat once
Adjust/Sharpness/Sharpen
Effects/Image Effects/Offset as follows:

OFFSET CURVE


Step Five:
Layers/Duplicate
Image/Mirror Vertical OR Image/Flip
Layers/Duplicate
Image/Free Rotate 90 degrees right as follows:

FREE ROTTE

With the Move Tool, place on the right hand side of the circle as shown below:

MOVE

Layers/Duplicate
Image Mirror/Horizontal OR Image/Mirror
Close off Merged Layer
Layers/Merge/Merge Visible
Open Merged Layer

Step Six:
Magic Wand with the following settings:

MW

Select the following with the Magic Wand:

SELECT

Layers/New Raster Layer
Layers/Arrange Move Down
Selections/Modify/Expand 3 pixels
Flood Fill with Foreground Pattern
Adjust/Sharpness/Sharpen
Effects/3D Effects/Inner Bevel as follows:

BEVEL

Selections/Select None

Step Seven:
Select Merged Layer on top of pile
Select the four corners and areas shown below with the Magic Wand as follows:

SELECT 2

Layers/New Raster Layer
Layers/Arrange/Send to Bottom
Selections/Modify/Expand/3 pixels
Flood Fill with Background Colour
Effects/Texture Effects/Texture/Zags as follows:

TEXTURE

Effects/Edge Effects/Enhance
Selections/Select None
Selections/Load/Save Selection/Load Selection D.D.TeapotsAndTeacups from Disk as follows:

SELECTION

Select Raster 2
Edit/Clear
Selections/Select None

Step Eight:
Back on to Merged Layer and select the outside of the frame with the Magic Wand
Selections/Modify/Expand 3 pixels
Layers/New Raster Layer
Layers/Arrange/Send to Bottom
Swap Foreground and Background Colours as follows:

SWAP

Flood fill with Background Colour
Effects/Texture Effects/Zag
Swap Colours back to previous settings.
Selections/Select None

Step Nine:
Close off Raster 2
Select one of the other Layers
Layers/Merge/Merge Visible
Select Merged Layer
Effects/Plugins/Eye Candy 3.0/Drop Shadow as follows:

DS
OR
Effects/Plugins/Eye Candy 4000/Shadowlab as follows:


SHADOWLAB

Repeat Drop Shadow/Shadowlab Direction 135
Open Raster 2

Step Ten:
Still on the Merged Layer
Select the centre of the frame with Magic Wand
Selections/Modify/Expand/12 pixels
Layers/New Raster Layer
Layers/Arrange/Send to Bottom
Flood Fill with Background Colour
Effects/Plugins/Penta/Dot and Cross as follows:

DOT AND CROSS

Selections/Select None
Maximise JR-WBITS-ELEGANTTEA.psp
Edit/Copy      Edit/Paste as New Layer
Image/Resize/75%
Adjust/Sharpness/Sharpen
Layers/Arrange/Bring to Top
Effects/Plugins/MuRa's Seamless/Emboss at Alpha/Default Settings
Layers/Merge/Merge All Flatten

Step Eleven:
Image/Add Borders/3 pixels/Background Colour
Change Background Colour to Foreground/Background Linear Gradient as follows:

GRADIENT

Image/Add Borders/25 pixels/White
Select with Magic Wand
Flood Fill with Gradient
Effects/Plugins/DSB Flux/Linear Transmission as follows:

FLUX

Adjust/Sharpness/Sharpen
Selections/Select None
Image/Add Borders/5 pixels/Background Colour

Step  Twelve:
Image/Add Borders/50 pixels/White
Select with Magic Wand
Flood Fill with Foreground Pattern
Adjust/Sharpness/Sharpen
Effects/Plugins/DSB Flux/Linear Transmission
Image/Free Rotate/90 degrees/Right
Effects/3D Effects/Inner Bevel
Selections/Select None
Image/Add Borders/5 pixels/Background Colour

Step Thirteen:
Maximise JR-WBITS-TEMPLATE101.psp
Select Layer 1
Edit/Copy      Edit/Paste as New Layer
Image/Resize/65%
Adjust/Sharpness/Sharpen
Adjust/Hue and Saturation/Colorize as follows:

H AND S

Effects/Image Effects/Offset as follows:

OFFSET DOILY

Effects/Plugins/Eye Candy 3.0/Drop Shadow
OR
Effects/Plugins/Eye Candy 4000/Shadowlab

Maximise tubflrosa_001.tub
Edit/Copy      Edit/Paste as New Layer
Effects/Image Effects/Offset as follows:

OFFSET ROSE

Effects/Plugins/Eye Candy 3.0/Drop Shadow
OR
Effects/Plugins/Eye Candy 4000/Shadowlab

Step Fourteen:
Maximise Signature.png
Edit/Copy  Edit/Paste as New Layer
Place at bottom of Layer

Layers/New Raster Layer
Add your Watermark
Layers/Merge All Flatten
Image/Resize/850 pixels wide - height will adjust itself
Adjust/Sharpness/Sharpen
File/Export/JPEG Optimiser/Compression Value 20

I hope you have enjoyed this tutorial
A big thank you to the ladies who test my Tutorials
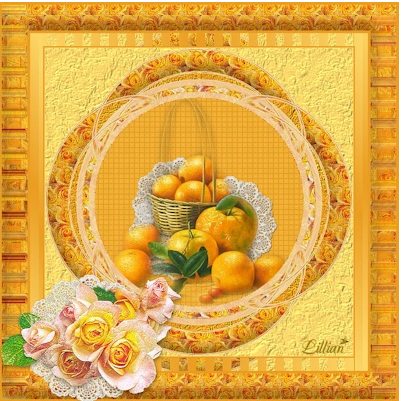
LILLIAN
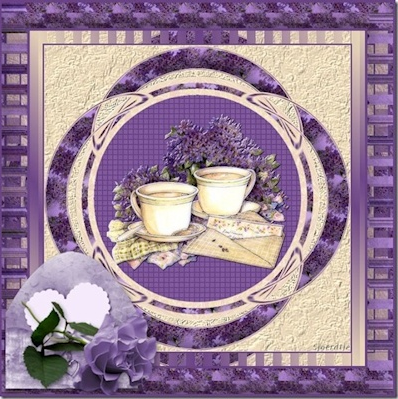
LILLIAN

SJOERTDJE
SJOERTJE
WENDY
WENDY

Inge
INGE-LORE


tag


DeniseD 2022
All Rights Reserved
Designed and Maintained by ESCAPING TO PSP GROUP