Tutorial 2017
This Tutorial was written by Denise D on 11th July,2015
from my own ideas.
Any resemblance to any other tutorial is purely co-incidental and unintentional.
You may share my Tutorial with others.
All I ask that permission is asked and credit given to the links below.
http://escapingtopsp2.altervista.org/Home/homeb.html
and
https://groups.google.com/forum/#!forum/escaping-to-psp2

Please do not upload any of my completed Tutorial images onto sites
such as Fotki, Pinterest, Photobucket or similar

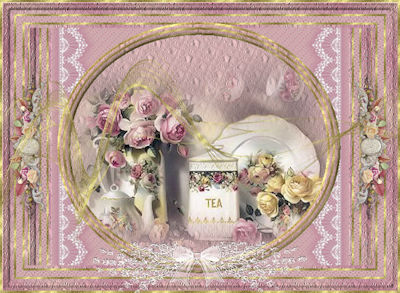
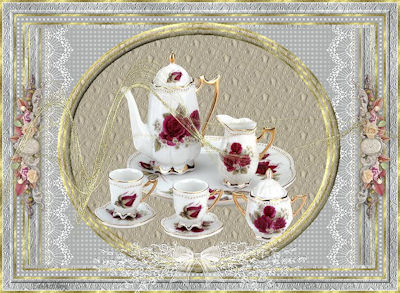
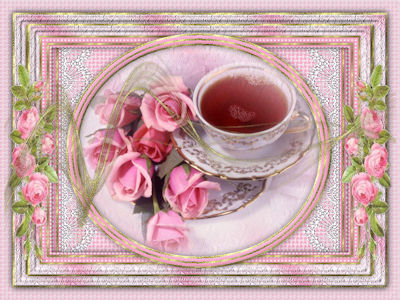
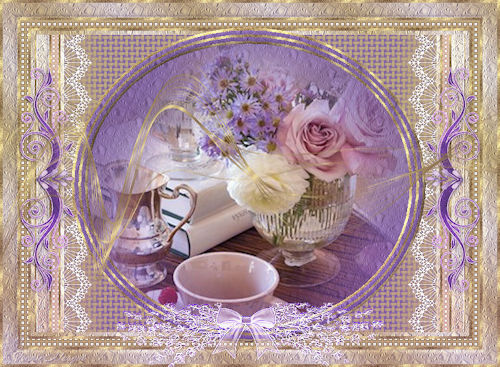
TEA AND ROSES

tea and roses

To follow Tutorial, hold down pencil - left click to move it


To print click on Printer

box
Double Click on the Box to download


FRENCH FLAG
Thank you Franie Margot for your French Translation
Please go to:
http://franiemargot.com/traductions_DeniseD/tuto/Tea_and_Roses.htm


Supplies

                                                 
libellulegraphisme_Clough-Tea-And-Roses
You can join this Group at:
http://tutoriels-libellule.e-monsite.com/livre-d-or/ / 

Decoration
GL Lace 01007_1
lace 1
Obtained through Group Shares.
If this image was created by you, please let me know
so that appropriate credit can be given.
     
Mask:
Narah_mask_0838
You can join this Group at:
https://ar.groups.yahoo.com/neo/groups/TUBESpack/info

Texture:
JC_051

Pattern:
Angra 3
                         
Selection:
D.D.TeaAndRoses
         
Plugins:
Eye Candy 3.0
                  
Found here:
http://www.chezviolette17.com/02filtres/Filtres.htm
http://janaly.com/Filtres/Filtre.html
Notes:
This Tutorial was created in PSP X7.... other versions may need adjustment
Some of the graphics may be from Free to Use sites or Share Groups. 
If you are the creator of one of these please let me know so that appropriate credit can be given. 
No infringement of copyright is intended or intentional.
Before opening PSP, download plugins and install
Place Texture in PSP Texture Folder
Place Pattern in PSP Pattern Folder
Place Mask in PSP Mask Folder
Place Selection in PSP Selection Folder
Open graphics in PSP, duplicate (Shift D) and close the original.

The settings remain the same throughout this Tutorial unless otherwise stated.
Set your Foreground colour to #fbfbdd
Set your Background colour to #decaa2
Contrast #b89794

Step One:
File/New/New Image 750 pixels x 550 pixels as follows:


Change Foreground Colour to Pattern Angra3 as follows:


Flood Fill with Pattern
Adjust/Add/Remove Noise/Add Noise as follows:


Selections/Select All
Selections/Modify/Contract 4 pixels
Edit/Clear

Step Two:
Change Background Colour to Foreground/Background/Linear Gradient as follows:


Layers/New Raster Layer
Flood Fill with Gradient
Effects/Texture Effects/Texture as follows:


Adjust/Sharpness/Sharpen
Selections/Modify/Contract 15 pixels
Selections/Invert
Effects/3D Effects/Outer Bevel as follows:


Adjust/Sharpness/Sharpen More
Selections/Invert
Selections/Modify/Contract 7 pixels

Step Three:
Layers/New Raster Layer
Flood Fill with Pattern
Adjust/Add/Remove Noise/Add Noise
Selections/Modify/Contract 4 pixels
Edit/Clear
Layers/New Raster Layer
Change Gradient back to Background Colour
Flood Fill with Background Colour
Effects/Texture Effects/Weave as follows:


Effects/Edge Effects/Enhance
Selections/Modify/Contract 12 pixels
Edit/Clear
Layers/New Raster Layer
Flood Fill with Pattern
Adjust/Add/Remove Noise/Add Noise
Selections/Modify/Contract 4 pixels
Edit/Clear
Selections/Modify/Contract 6 pixels
Select Raster 2
Edit/Clear
Layers/Merge/Merge Visible
Selections/Select None

Step Four:
Edit/Copy        Edit/Paste as New Image (THIS WILL BE CALLED FRAME COPY 2)
Minimise Original for the moment and work on Frame Copy 2
Image/Resize/92% as follows:


Adjust/Sharpness/Sharpen 
Effects/Geometric Effects/Cylinder-Horizontal as follows:


Adjust/Sharpness/Sharpen
Edit/Copy      
Back to Original Layer
Edit/Paste As New Layer
Image/Resize/94%
Layers/Arrange/Move Down
Layers/Merge/Merge Visible

Step Five:
Maximise lace 1
Edit/Copy        Edit/Paste as New Layer
Image/Resize/74%
Effects/Edge Effects/Enhance
Effects/Image Effects/Offset as follows:


Layers/Arrange/Move Down
Layers/Duplicate
Image/Mirror
Layers/Merge/Merge Down
Effects/Plugins/Eye Candy 3.0/Glow as follows:


Step Six:
Layers/New Raster Layer
Layers/Arrange/Send to Bottom
Flood Fill with Background Colour
Effects/Texture Effects/Weave as follows:


Layers/New Raster Layer
Layers/Arrange/Bring to Top
Selections/Load/Save Selection/Load Selection D.D.TeaAndRoses from Disk as follows:


Flood Fill with Pattern
Adjust/Add/Remove Noise/Add Noise
Selections/Modify/Contract 4 pixels
Edit/Clear
Change Background Colour to #b89894
Flood Fill with Background Colour
Effects/Texture Effects/Texture
Selections/Modify/Contract 6 pixels
Edit/Clear
Flood Fill with Pattern
Adjust/Add/Remove Noise/Add Noise
Selections/Modify/Contract 4 pixels
Edit/Clear
Flood Fill with Background Colour
Effects/Texture Effects/Texture
Selections/Modify/Contract 6 pixels
Edit/Clear
Flood Fill with Pattern
Adjust/Add/Remove Noise/Add Noise
Selections/Modify/Contract 4 pixels
Edit/Clear

Step Seven:
Selections/Modify/Select Selection Borders as follows:


Effects/3D Effects/Inner Bevel as follows:


Selections/Select None

Step Eight:
Layers/New Raster Layer
Layers/Arrange/Move Down
Selections/Load/Save Selection/D.D.TeaAndRoses from Disk
Flood Fill with Background Colour
Effects/Texture Effects/Texture
Maximise libellulegraphisme_Clough-Tea-And-Roses
Edit/Copy        Edit/Paste as a New Layer
Adjust/Sharpness/Sharpen
Selections/Invert
Edit/Clear
Selections/Select None

Step Nine:
Maximise Decoration
Edit/Copy        Edit/Paste as New Layer
Image/Resize 55%
Adjust/Sharpness/Sharpen
Effects/Image Effects/Offset as follows:


Effects/Plugins/Eye Candy 3.0/Drop Shadow/Direction 315 as follows:


Layers/Duplicate
Image/Mirror

Step Ten:
Maximise GL Lace 01007_1
Edit/Copy        Edit/Paste as New Layer
Adjust/Sharpness/Sharpen
Layers/Arrange/Bring to Top
Effects/Image Effects/Offset as follows:


Change the Blend Mode to Hard Light

Step Eleven:
Layers/New Raster Layer
Flood Fill with Pattern
Adjust/Add/Remove Noise/Add Noise
Layers/Load/Save Mask from Disk as follows:


Effects/Edge Effects/Enhance
Layers/Merge/Merge Group
Layers/New Raster Layer
Add your Watermark
Layers/Merge All Flatten
File/Export/JPEG Optimiser/Compression Value 20

I hope  you have enjoyed this tutorial
A big thank you to the ladies who test my Tutorials
TESTERS' RESULTS


alice
ALICE T.


elizabeth
ELIZABETH

lillian
LIILLIAN

shirley
SHIRLEY

Betty
BETTY

franie margot
FRANIE MARGOT
FOR OTHER VERSIONS OF THE TUTORIAL
PLEASE GO TO:

https://goo.gl/photos/bVEopFGXPsNcdNwz5


footer
DeniseD 2017


DeniseD 2017
All Rights Reserved
Designed and Maintained by ESCAPING TO PSP GROUP