Tutorial 2017
This
tutorial is written by
Denise D. on 1st March, 2023
from
my own ideas.
Any
resemblance to other tutorials is
co-incidental and unintentional.
If
you wish to share my Tutorials, you MUST
obtain my permission first.
All I ask is that you advise me
and
credit for the tutorial is given to me and linked to
http://escapingtopsp2.altervista.org/Home/homeb.html
If you wish to join my
mailing list, please go to:
https://groups.google.com/g/escaping-to-psp3
Please
do not upload any of my completed Tutorial images onto sites
such as Fotki, Pinterest, Photobucket or similar
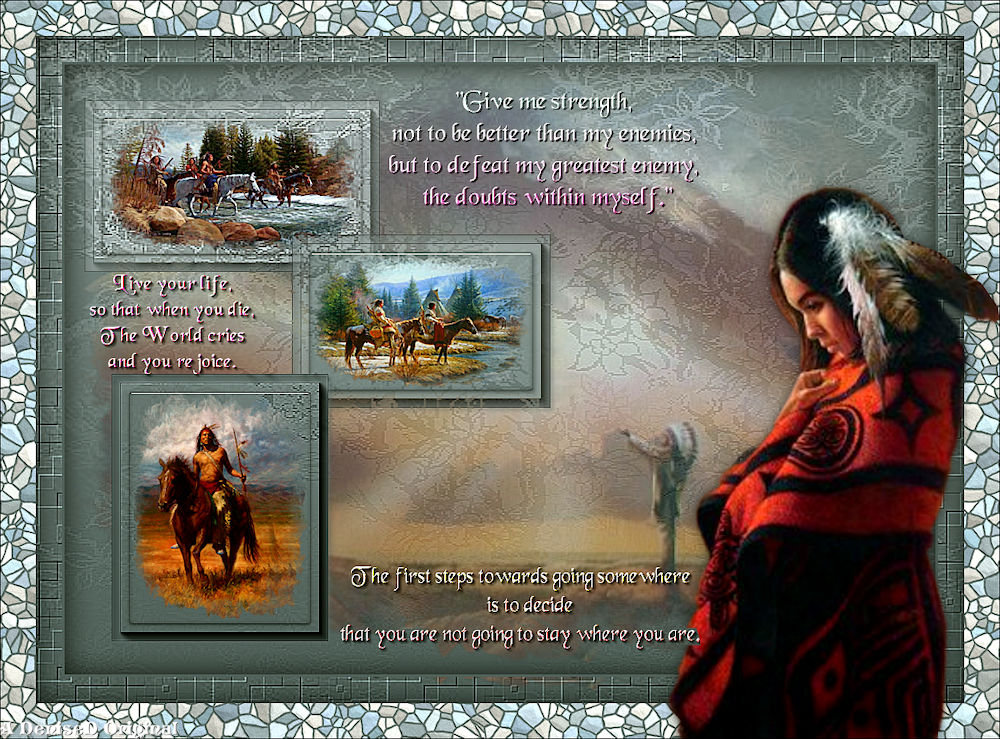
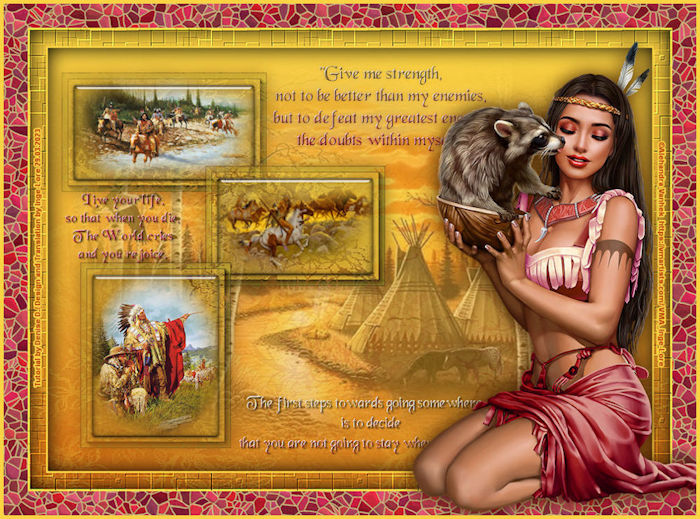
CHEROKEE SAYINGS
http://escapingtopsp2.altervista.org/CherokeeSayings/CherokeeSayings.html.gif)
Click on Arrow to follow Tutorial


Thank you Inge-Lore, and Michele for these Translations

Click on the Box to download Supplies
Supplies
Supplies
included with the Tutorial
Alpha Channel
paysages_0131_lisat.png
You can join this Group at:
http://lemondedelisat.free.fr/bienvenue/bienvenue.html
Image6NA_1_The_Gift_LR.png
MKM
2015 JUNE SERIES NATIVE AMERICAN_3_T1.pspiamge
Montana Kates Mist December Series Native American_T4.pspimage
This group no longer exists
cavalier_indien_1_tubed_by_thafs.pspimage
You can join this Group at:
http://chezladiablesserouge.blog4ever.com/
DeniseD
Signature.png
D.D.Text1.png
D.D.Text2.png
D.D.Text3.png
Texture:
HD-textur-09.jpg
Mask:
Branches_Msk_Gam.jpg
Presets:
D.D.CherokeeSayings2
D.D.Cherokee
Plugins:
Alien Skin Eye Candy 5
AAA Frames
MuRa's Seamless
Found here:
 AND
AND
Double
Click on the  icon in your supplies folder to install
this Preset in your Plugin.
icon in your supplies folder to install
this Preset in your Plugin.
Notes:
This
Tutorial was created in PSP2019
.... other
versions may need adjustment
Some of
the graphics may be from Free
to Use sites or Share
Groups.
If you are
the creator of one of these
please let me know
so that appropriate credit can be given.
No
infringement of
copyright is intended or intentional.
Before
opening PSP, download plugins
and install
Some
helpful information:
You can change the blend mode, opacity and drop shadow, as
well as colourise
the materials,
according to the tubes/colours you are using.
When applying the Resize with the All Layers option checked, this will
be
informed in the tutorial,
otherwise, apply the resize with this option unchecked.
Remember always to save your work.
Whenever you reduce an image, apply Adjust/Sharpness/Sharpen, to
maintain the
sharpness of the image.
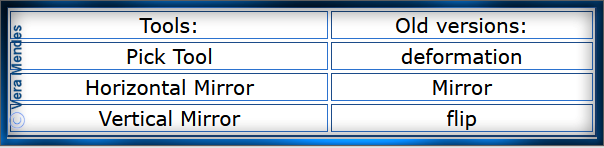
Some tools or features have other names in earlier versions of the PSP.
Please
Note: Offset
settings provided in this tutorial may vary according to size of your
image.
Please
adjust to suit.
The
settings remain the same throughout this Tutorial unless otherwise
stated.
Set your
Foreground colour to #c6b77a
Set your
Background colour to #ac3044
Step One:
Place Texture in PSP Texture Folder
Open Mask and Minimise
Install Preset
Open
graphics in PSP, duplicate (Shift
D) and close the original.
Open
Alpha Channel
Duplicate
We
will work on the Duplicate which holds the invisible Selections
Layers/New Raster Layer
Flood fill with Background Colour
Change Foreground Colour to Foreground/Background Linear Gradient as
follows:
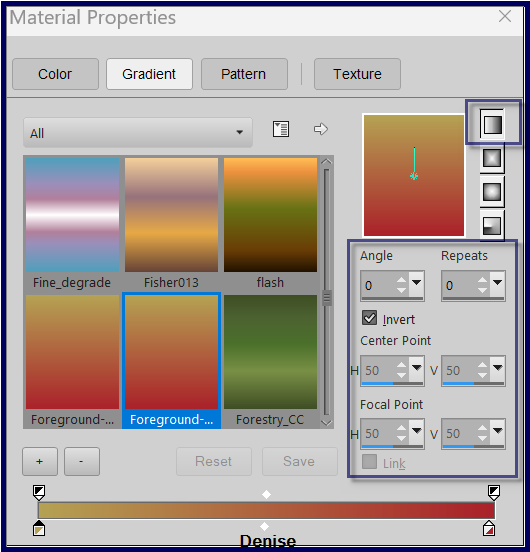
Layers/New Raster Layer
Flood fill with Foreground Gradient
Step Two:
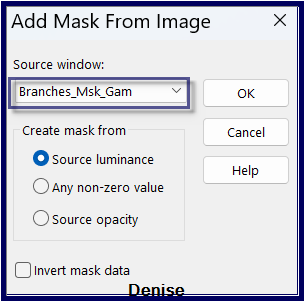
Layers/New Mask
Layer/From Image (find Branches_Msk_Gam.jpg) as follows:
Layers/Merge/Merge Group
Effects/Edge Effects/Enhance
Step Three:
Selections/Load/Save Selection/Load/Selection#1 from Alpha Channel as
follows:
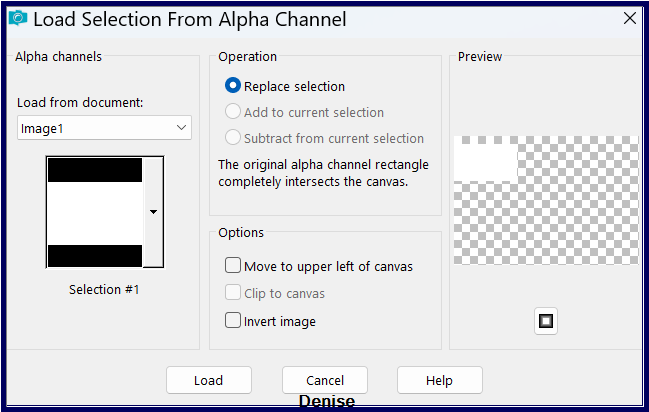
Promote Selection to Layer
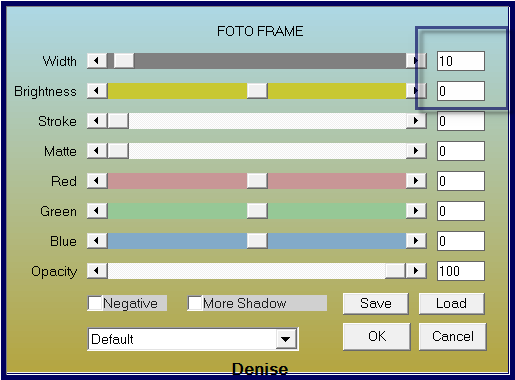
Effects/Plugins/AAA Frames/Foto Frame as follows:
Step Four:
Selections/Modify/Contract 20 pixels
Layers/New Raster Layer
Maximise MKM 2015 JUNE SERIES NATIVE AMERICAN_3_T1.pspimage
Edit/Copy Edit/Paste into Selection
Layers/Merge/Merge Down
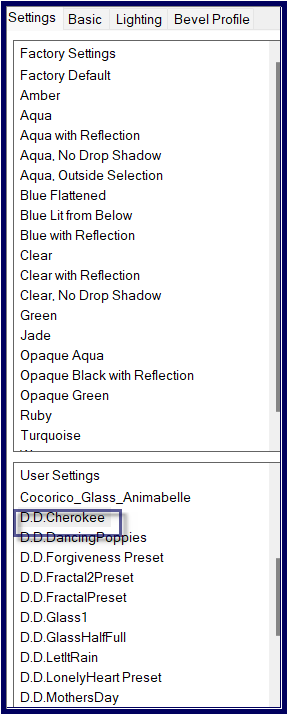
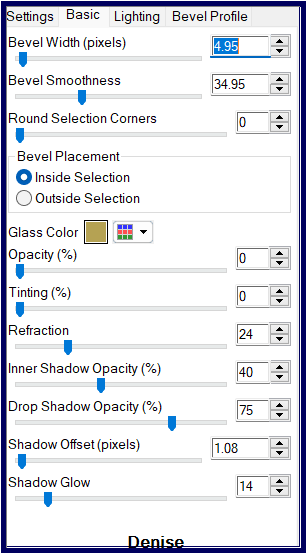
Effects/Plugins/Alien Skin Eye Candy 5/Impact/Glass/D.D.Cherokee Preset
OR as follows:
Selections/Select None
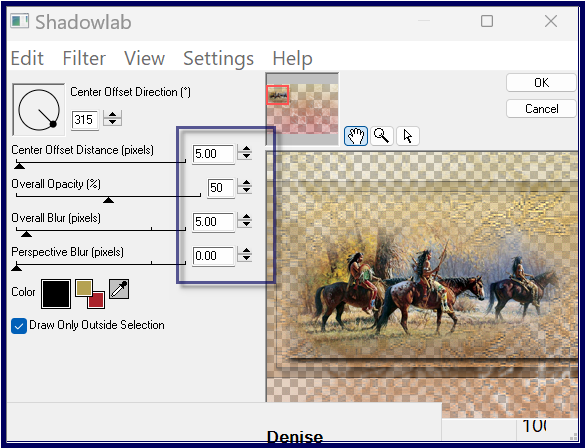
Effect/Plugins/Eye Candy 4000/Shadowlab as follows:
Step Five:
Select Group Raster 2
Selections/Load/Save Selection/Load Selection #2 from Alpha Channel
Promote Selection to Layer
Layers/Arrange/Bring to Top
Effects/Plugins/AAA Frames/Foto Frame
Selections/Modify/Contract 20 pixels
Layers/New Raster Layer
Maximise Montana Kates Mist December Series Native American_T4.pspimage
Edit/Copy Edit/Paste into Selection
Adjust/Sharpness/Sharpen
Layers/Merge/Merge Down
Effects/Plugins/Alien Skin Eye Candy
5/Impact/Glass/D.D.Cherokee Preset
Selections/Select None
Effects/Plugin/Eye Candy 4000/Shadowlab
Step
Six:
Select Group Raster 2
Selections/Load/Save Selection/Load Selection #3 from Alpha Channel
Promote Selection to Layer
Layers/Arrange/Bring to Top
Effects/Plugins/AAA Frames/Foto Frame
Selections/Modify/Contract 20 pixels
Layers/New Raster Layer
Maximise cavalier_indien_1_tubed_by_thafs.pspimage
Edit/Copy Edit/Paste into Selection
Adjust/Sharpness/Sharpen
Layers/Merge/Merge Down
Effects/Plugins/Alien Skin Eye Candy
5/Impact/Glass/D.D.Cherokee Preset
Selections/Select None
Effects/Plugin/Eye Candy 4000/Shadowlab
Step
Seven:
Close off Alpha Channel, Raster 1 and Group Raster
2 Layers
Layers/Merge/Merge Visible
Open Alpha Channel, Raster 1 and Group Raster 2
Select Merged Layer
Layer/Arrange/Move Up
Select Group Raster 2
Layers/New Raster Layer
Maximise paysages_0131_lisat.pspimage
Edit/Copy Edit/Paste as New Layer
Change Opacity to 50%
Step Eight:
Maximise D.D.Text1.png
Edit/Copy Edit/Paste as New Layer
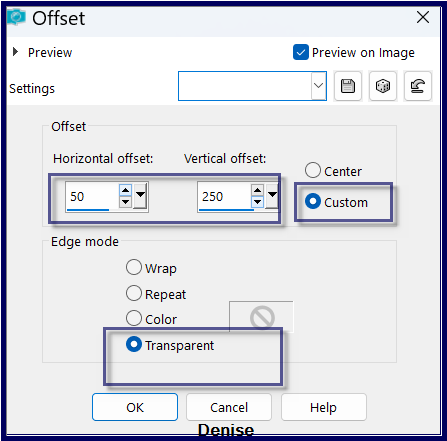
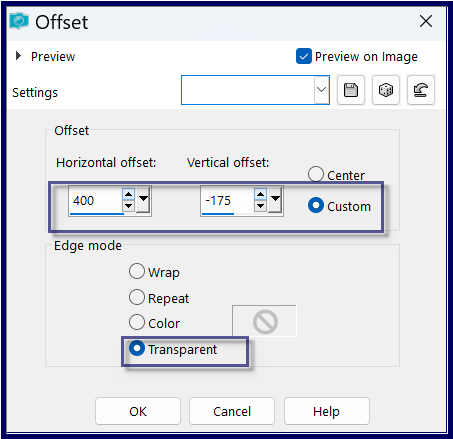
Effects/Image Effects/Offset as follows:
Maximise
D.D.Text2.png
Edit/Copy Edit/Paste as New Layer
Effects/Image Effects/Offset as follows:
 Step
Nine:
Step
Nine:
Maximise
D.D.Text3.png
Edit/Copy Edit/Paste as New Layer
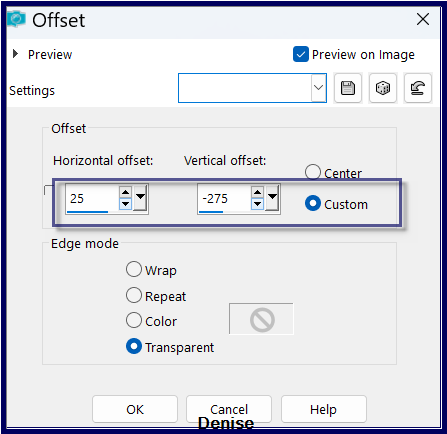
Effects/Image Effects/Offset as follows:
Layers/Merge Down
Repeat Once
Step
Ten:
Selections/Select All
Image/Add Border/3 pixels/Foreground Colour
Effects/3D Effects/Cutout as follows:

Selections/Select All
Edit/Copy
Step Eleven:
Image/Add Borders/30 pixels/White
Selections/Invert
Edit/Paste into Selection
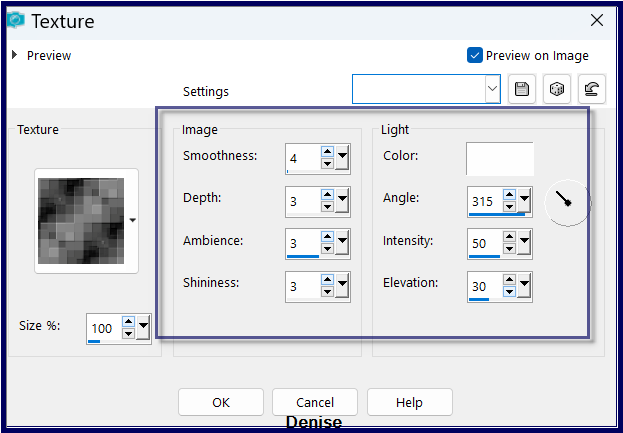
Effects/Texture Effects/Texture HD-textur-09 as follows:
Adjust/Sharpness/Sharpen
Selections/Select All
Step Twelve:
Image/Add
Borders/40 pixels/Background Colour
Selections/Invert
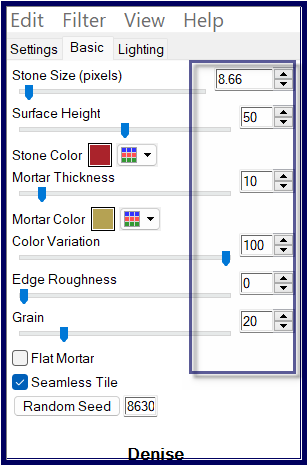
Effect/Plugins/Alien Skin Eye Candy 5/Textures/StoneWall/Preset
D.D.CherokeeSayings2 OR as follows:
Selections/Select None
Image/Add Borders/5 pixels/Background Colour
Step Thirteen:
Maximise Image6NA_1_The_Gift_LR .png
Edit/Copy Edit/Paste as New Layer
Image/Mirror/Horizontal
Effects/Image Effects/Offset as follows:
Effects/Plugins/Eye Candy 4000/Shadowlab
Step Fourteen:
Maximise Signature.png
Edit/Copy Edit/Paste as New Layer
Place at bottom of Layer
Layers/New
Raster Layer
Add
your Watermark
Layers/Merge
All Flatten
Image/Resize/1000
pixels wide - height will adjust itself
OPTIONAL
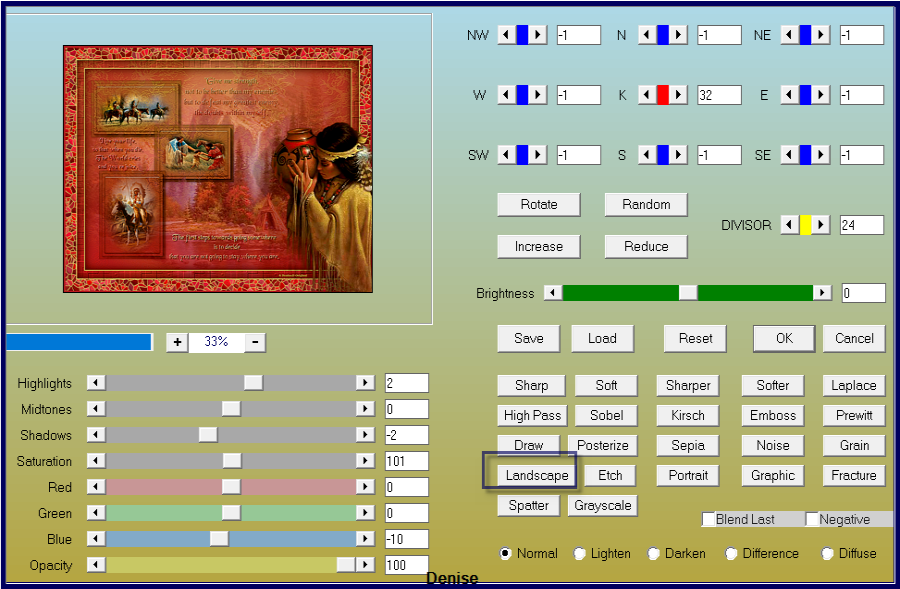
STEP:
Effects/Plugins/AAA Filters/Custom/Landscape as follows:
File/Export/JPEG
Optimiser/Compression Value 20
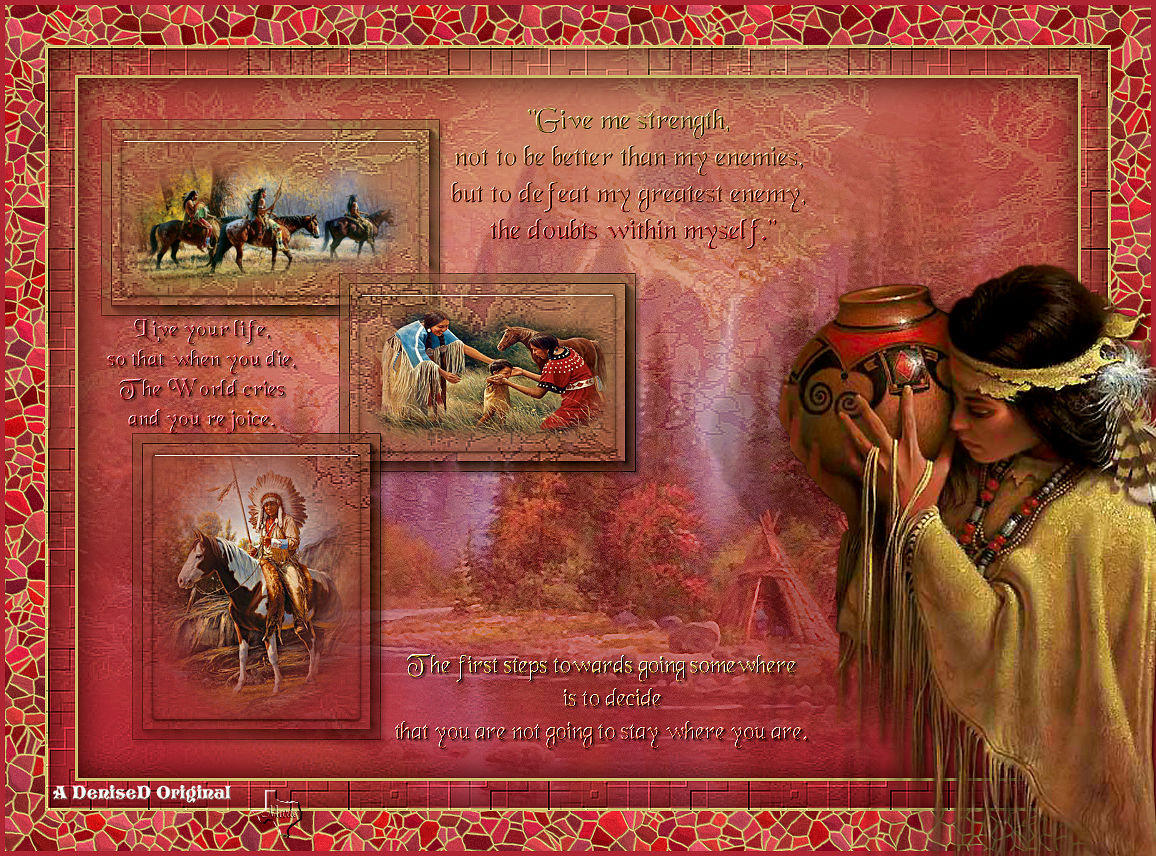
I
hope you have enjoyed
this tutorial
A
big thank you to the ladies who test my Tutorials
TESTERS'
RESULTS
MARIE
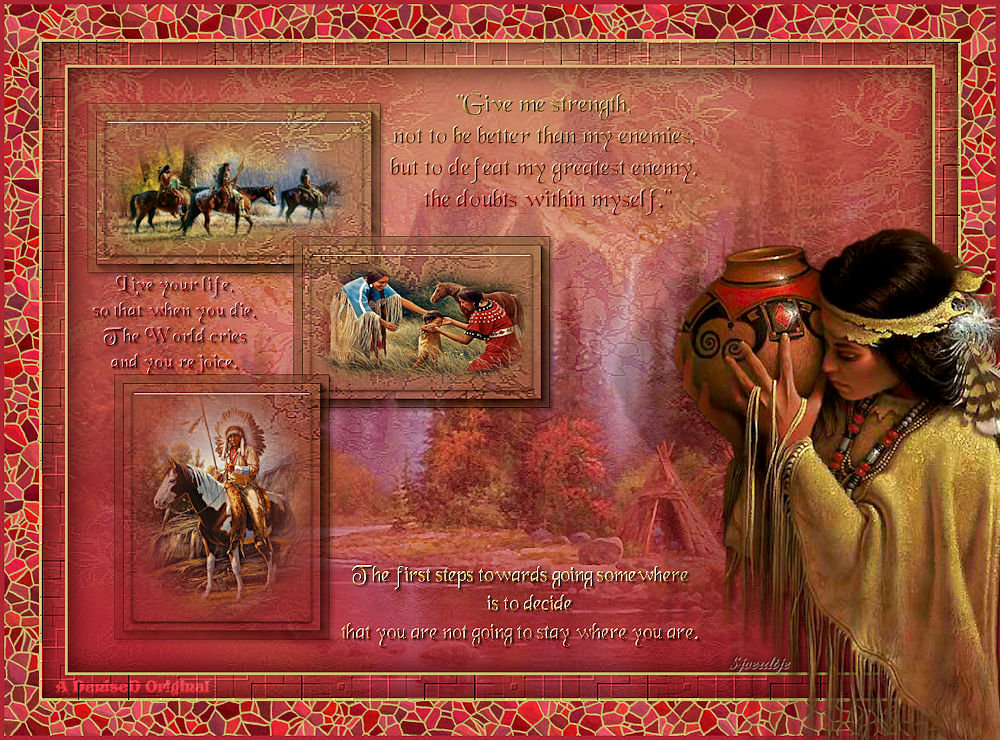
SJOERTDJE
BETTY
INGE-LORE
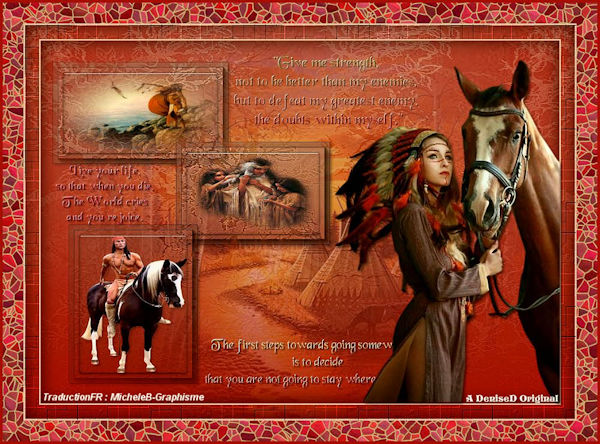
MICHELE
https://escapingtopsp2.blogspot.com/
|
| | |